
🏡 How to Build a Home Gym on a Budget After Cancer: The Ultimate Guide (2025)
Building a home gym on a budget after cancer doesn’t require fancy machines or thousands of dollars.
With just a few smart investments, some creativity, and my free workout guide, you can create a safe and effective workout space right at home.
Whether you’re dealing with fatigue, joint pain, neuropathy, or lymphedema, in this guide, you will learn:
🔹 The essential equipment to get for your budget
🔹 The best equipment to reach your goals at the best price
🔹 Special equipment needed for fatigue, joint pain, neuropathy, and/or lymphedema
🔹 Equipment to buy as you go
This guide will give you everything you need to know so you can pick and choose what you need for a home gym that matches your goals and budget!
💸 How to Build a Budget-Friendly Home Gym After Cancer (Under $300)
Building a home gym after cancer on a budget starts with 4 basic principles:
Start with the essentials — a mat and/or a bench
Choose the best equipment for your goals — dumbbells, kettlebells, and/or TRX
Add special equipment — straps, balance pad, stability ball, vest, blocks, etc.
Equipment to add as you go — This is just nice to have but not needed.
Note: You don’t need to get everything from the list, but you do need at least 1 item from principles 1-3.
The key is to choose one item that fits your budget and goals from principles 1-3 and then add on to it as you go.
Through this blog, you will notice some items are repeated to show that items have multiple uses.
Links are also included to Amazon, and these are my recommended items.
Start with the Essentials (Under $100)
The most foundational piece of equipment you need is either a yoga mat or a bench.
Start with a yoga mat if you can comfortably get up and off the ground and are looking to start with gentle exercises.
Note: This is easier to store and carry than a bend
Start with a Bench if you want to build muscle and/or have issues getting off the ground.
Note: This is heavier to carry and harder to store
At some point, you will want to have both, but choose 1 to get started with.
For A Yoga Mat— Get a 1 inch thick anti-slip yoga mat ($40)
Pro: Yoga mats are great for stretching, mobility work, and rehabbing weak muscles with body weight exercise.
Con: It requires you to get on the ground, and depending on your cancer treatment and side effects, you may need to add a few things:
If you have trouble bending or touching your toes, add the straps (this should come with your mat, but if it doesn’t you, can use a belt)
If you have back or neck pain add a cushion or rolled towel to support your lower back and neck.
My recommended mat is the 1 inch thick anti-slip yoga mat ($40)

There are cheaper mats, but I always recommend anti-slip to reduce the risk of falls.
A 1-inch-thick mat will be more comfortable on the joints.
If you’ve lost muscle or have joint pain and stiffness, the thick mat will provide you with extra support.
I’ve never had an online coaching client complain about having more support and cushion while they exercise, but I have had people feel uncomfortable if the mat is not thick enough.
However, if the 1-inch thick is out of your budget, you can also buy a 1/2 inch mat with straps ($20) and an added knee pad for support, like the mat shown below.

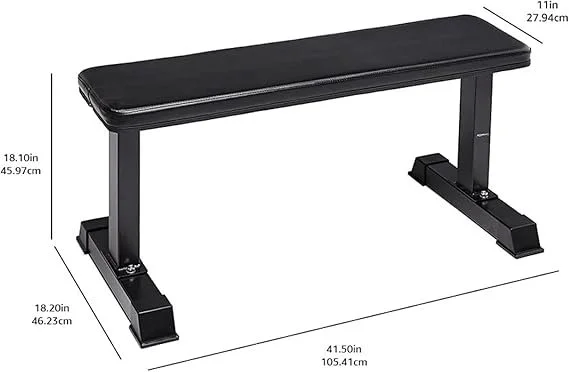
For A Bench — Start with a flat bench ($50)
The most affordable bench to get for the best quality is by far the amazon basic flat bench ($50)
Pro: A flat bench is just as good as any bench to help you build muscle strength, mass, and improve range of motion if you have trouble getting up and off the ground.
Con: It’s not adjustable, so it can limit your exercises. It can also be heavy to move, weighing ~30 lbs.
This is a bench that you buy once and will probably never need to replace.
However, if you have more money to spend and have been training for over 1 year, I would recommend an adjustable bench over a flat bench.
An adjustable bench allows you to do more exercises for better results.
Cons: They are more expensive.
Pro: They are better for building muscle, allow for more exercises, and fold up to be easily stored.
The most affordable one you can get is the Fly Bird Adjustable Bench ($160) shown below.

The adjustable bench is not needed, but it is nice to have, especially if you have more money to spend.
I will add that this is not the best, top-notch bench, but it will get youstarted with your home gym.
If you still don’t know whether to get a bench or a mat, choose:
The one that you feel comfortable using
The one that stores the best for you
The one that fits your budget
Most of my online coaching clients who have never exercised before start with the mat.
But if you have been exercising in the past and are looking to start a home gym, the bench is the best option for you.
All my online coaching clients with an at-home bench make the best physical progress because it allows them to do harder exercises.
You can’t go wrong with either one.
Note: A bench will require you to get dumbbells in the future. A mat does not. You will need both if your goal is to build muscle, but you don’t have to start with both. Getting a bench allows for more exercises that are better for building strength and muscle.
Choose the best equipment for your goals (Under $300 Total)
Depending on your goals, fitness level, and health, some equipment is better for you than others.
So, choose the equipment that closely matches your goals.
You don’t need everything in this list, but I like to keep it simple.
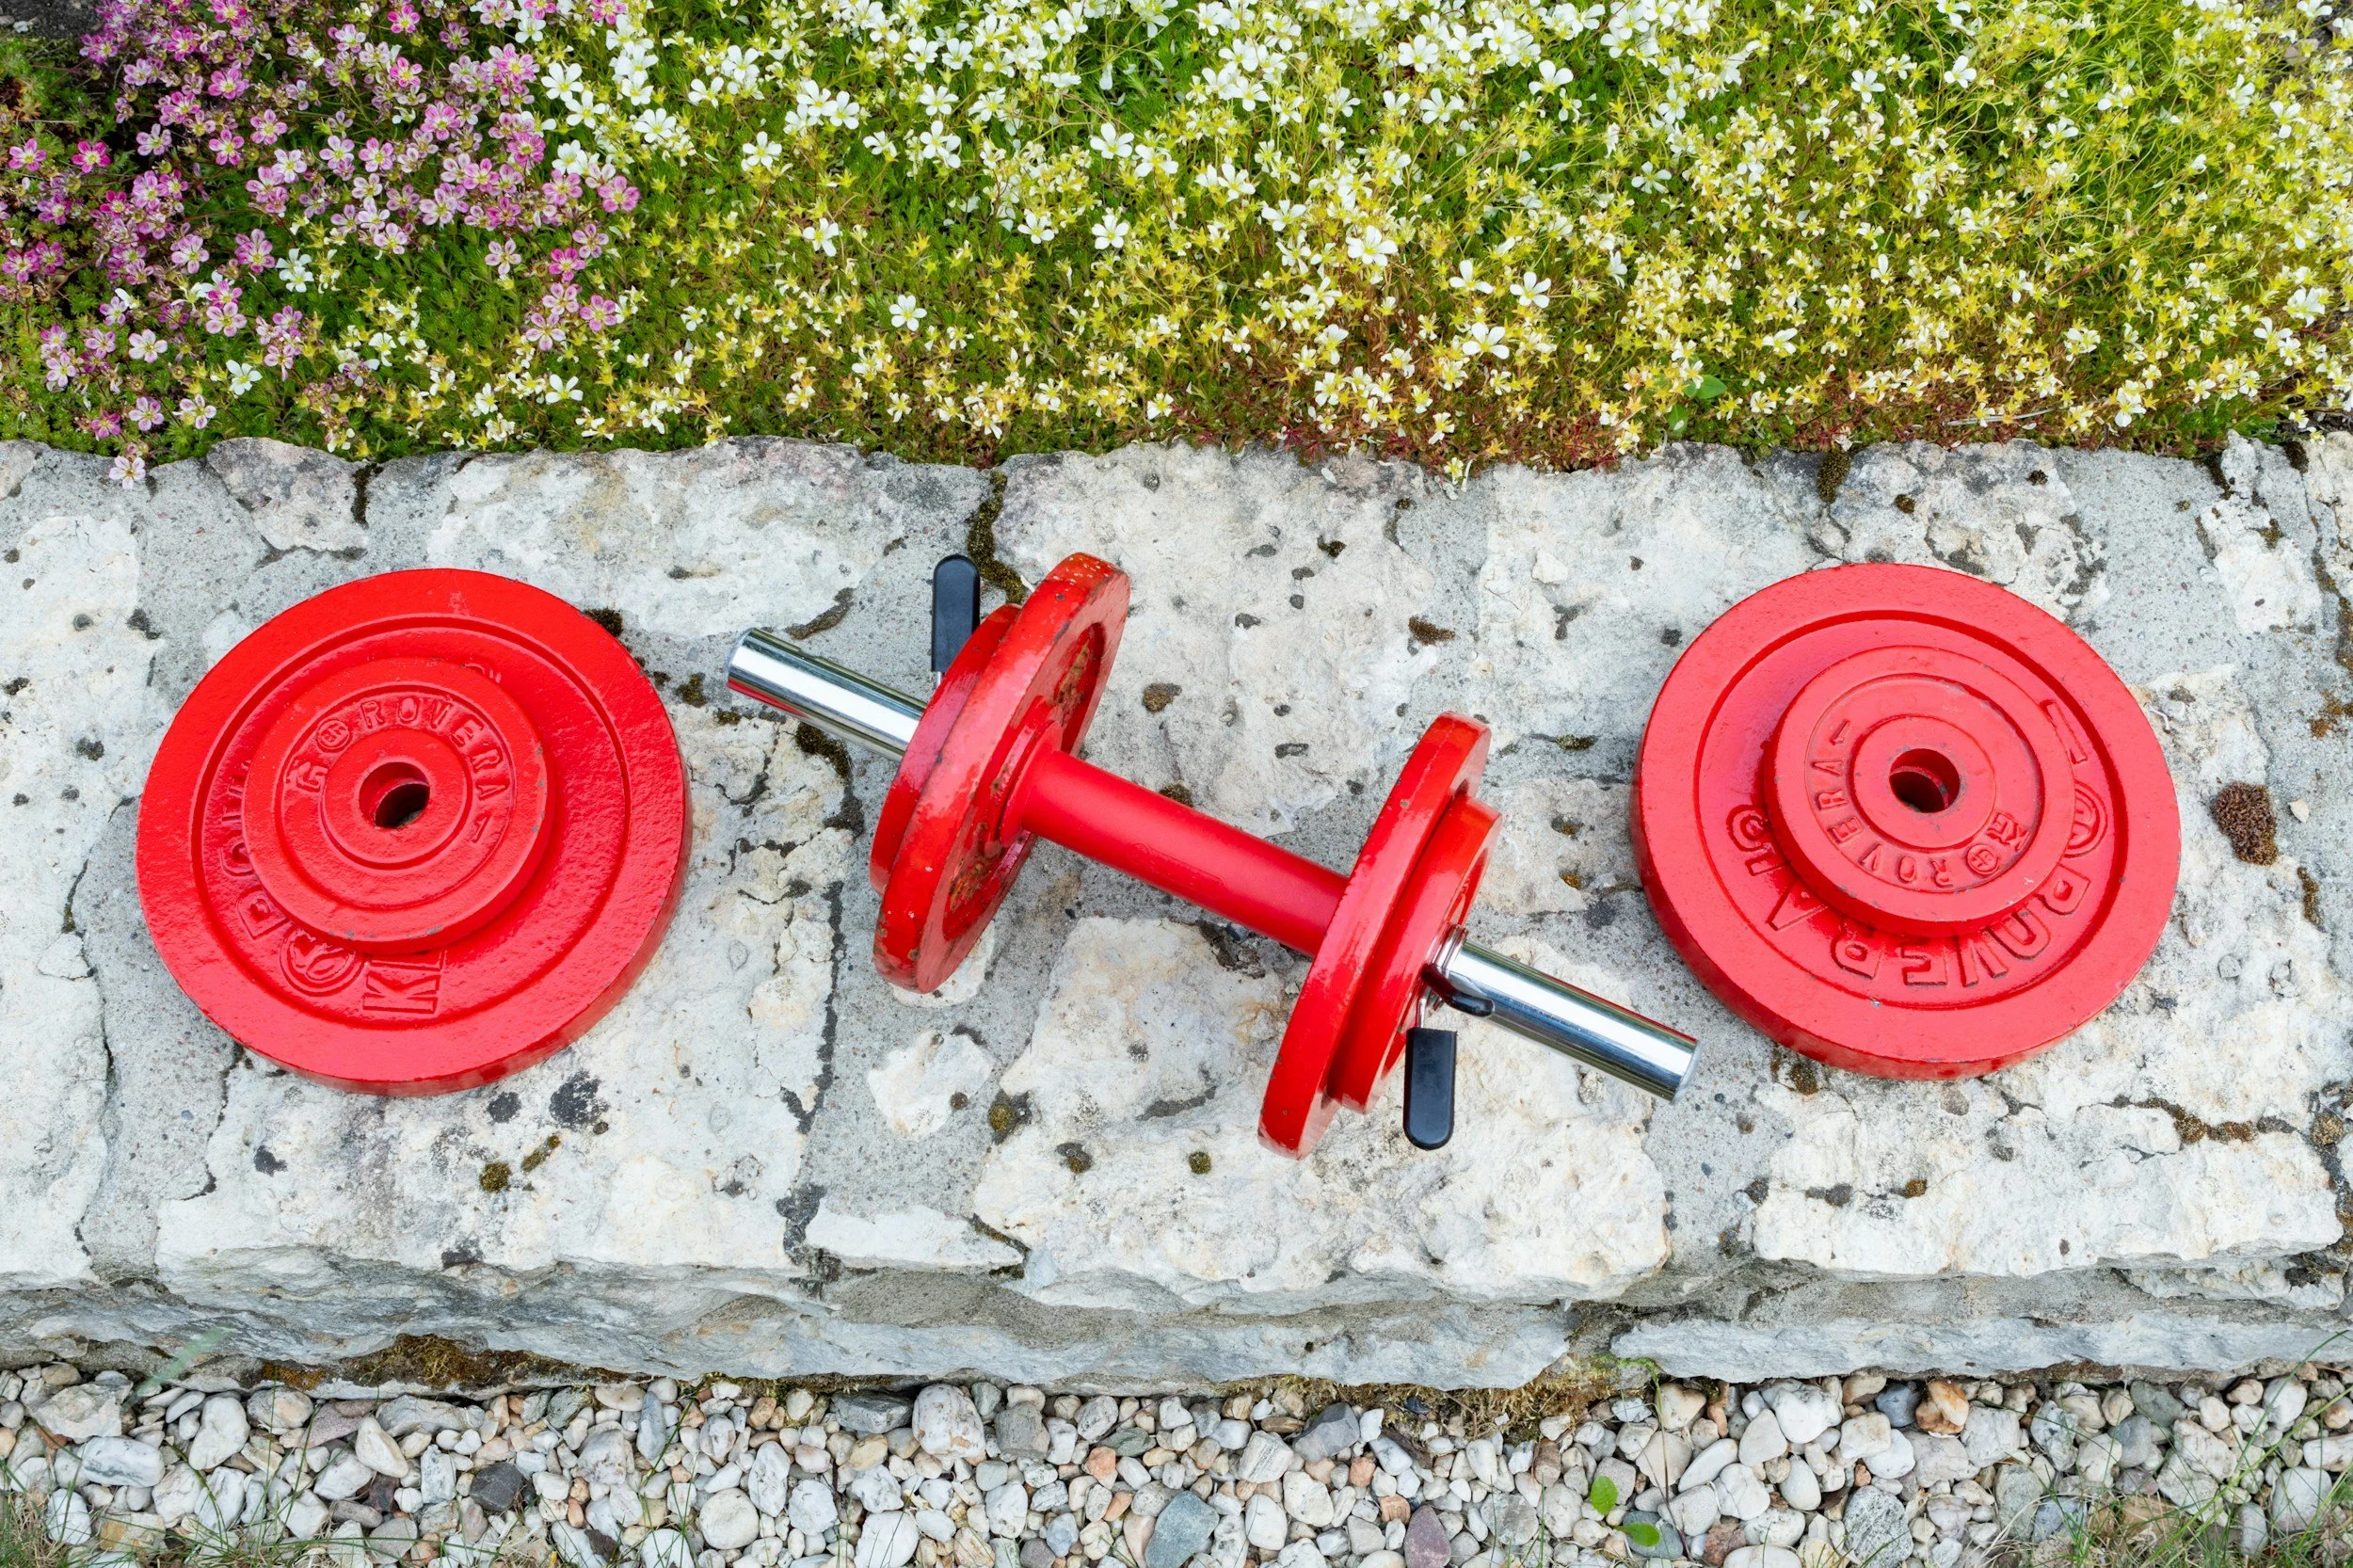
If your goal is to build muscle and/or strength, get dumbbells
If your goal is to build strength and/or get toned, get the TRX
If your goal is to build back functional strength, get a sand bag
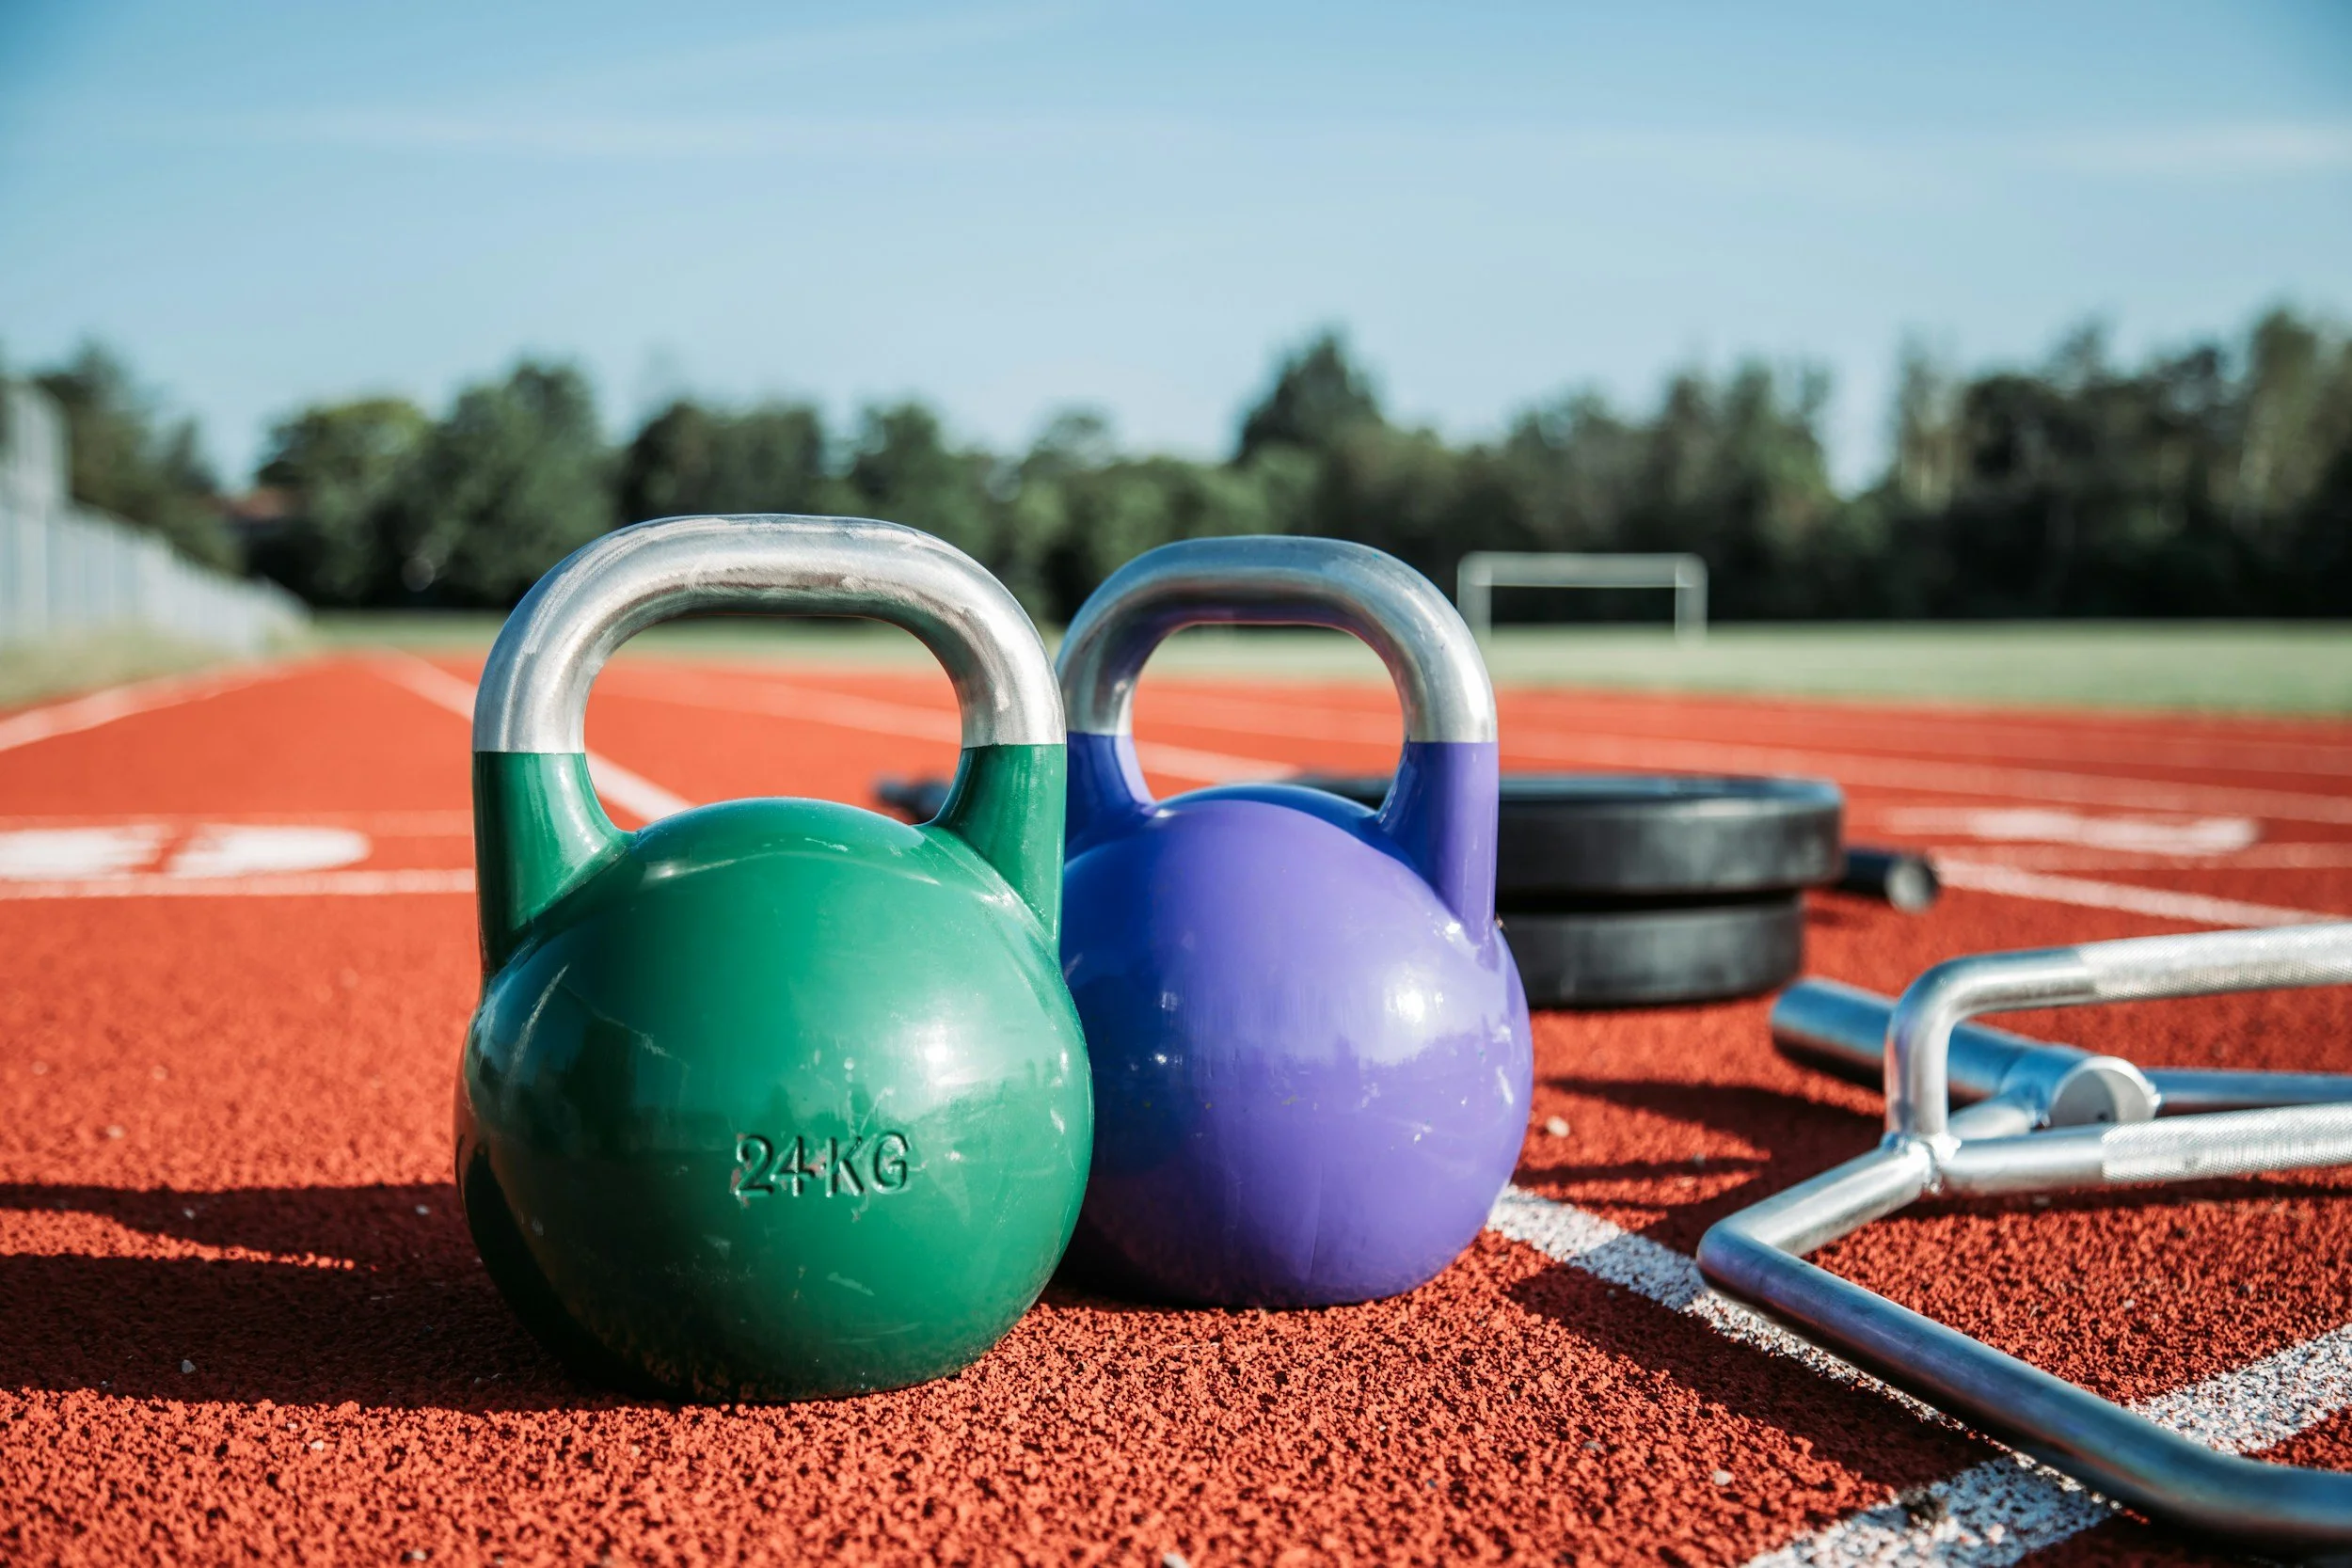
If your goal is to build power and endurance, get a kettle bell
Note: If your goal is only to build strength, you can do a1-time purchase and get everything you need to work out your whole body with just the TRX.
Check out my 1,2,3 Tier list to help decide what is best for you:
Tier 1: Best price for the best results
Tier 2: More affordable for the second-best results
Tier 3: Cheapest option to start with, but you’ll want to buy from tier 1 or 2 later.
1, 2, 3 tiers for best equipement to reach your goals
If your goal is to build overall strength and you have never exercised before, get the TRX ($150)
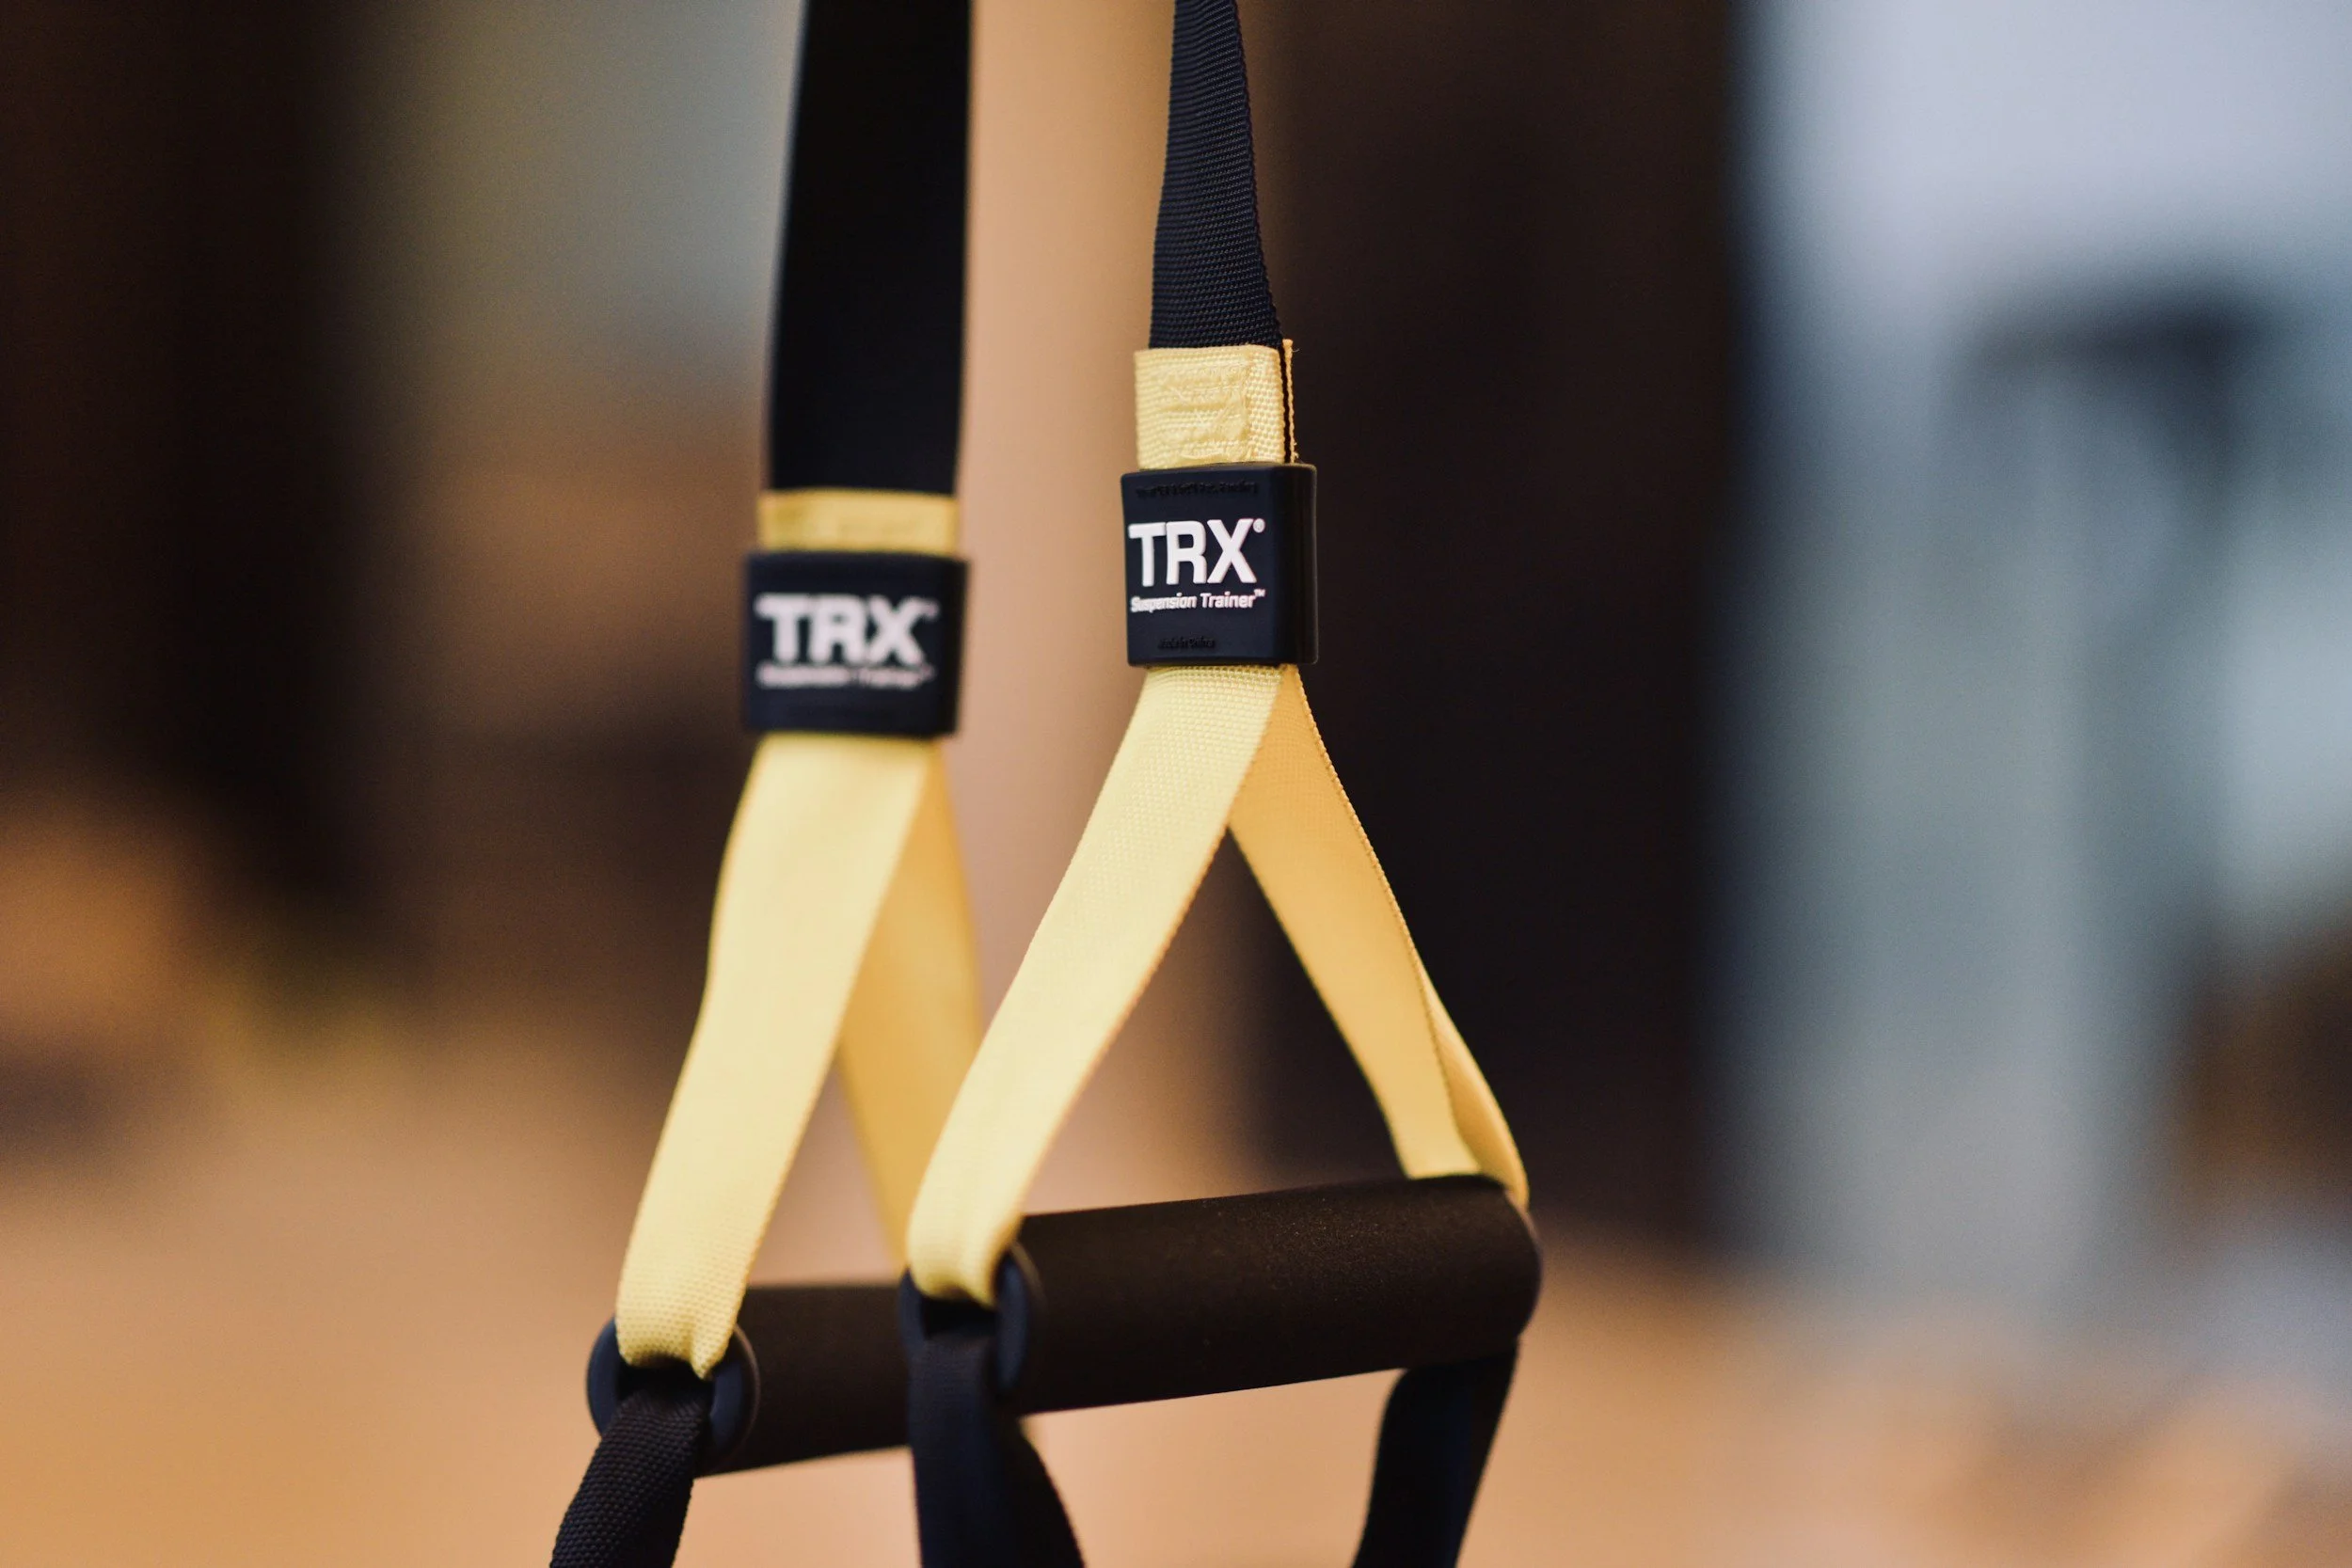
TRX is the one piece of equipment you buy once and can use every day.
It is more expensive, priced at $150, but it is the best for building strength after cancer because it gives you safety you need to exercise so you don’t fall and allows you to work your full body.
TRX — To add strength, you don’t need more weight, but you do need more variation of exercises. So, this is the best tool for the best price.
Adjustable dumbbells (up to 25 lbs ) — if you can buy the block that goes up to 50 lbs, I would put this as the best option for building both muscle size and strength.
Resistance bands — the cheapest option and a good starting point for beginners.
If you have been exercising for over a year and your goal is to build strength:

Sand bag training might seem overwhelming at first but if you have been exercising for over a year or two, it’s time to get started with one.
Because carrying a sandbag translates better to your day-to-day, like carrying a basket of laundry, picking up your dog, carrying groceries, and moving things around the house.
Very rarely is something you pick up shaped like a dumbbell, so it helps you build functional strength for day-to-day.
Sand bag (25-50 lbs) — This is a great tool to have because it builds functional strength. Every day items arent shaped like a dumbbell so the awkwardness of a sandbag is what makes it functional.
Adjustable dumbbells (up to 50 lbs) — to build strength you need to add more than just your body weight and increase weight over time.
Kettle bells (up to 45 lbs) — The best and cheapest combination would be getting 20-25 lbs for upper body and one 35-45 lb kettle bell for lower body
For more information on how to build muscle strength after cancer
If your goal is to build muscle and you have never exercised before:

The best piece of equipement to build muscle is the dumbbell.
Dumbbells allow you to get enough range of motion and increase weight over time.
The challenge is that you will need adjustable dumbbells.
I know getting adjustable dumbbells that go over 50 lbs sounds like a lot but this is a one time purchase you will never need to replace.
Remember the goal is to increase weight over time.
For my free muscle building blue print click here.
Adjustable dumbbells (up to 50 lbs) — They are easy to use and simple to store.
Adjustable dumbbells (up to 25 lbs) — to build muscle you need to add more than just your body weight and increase weight over time if you cant get the ones that go up to 50 then going to 25 lb is better.
Kettle bells (up to 45 lbs) — The best and cheapest combination would be getting 25 lbs for upper body and one 35-45 lb kettle bell for lower body
If have been exercising for over a year and your goal is to build muscle:

For adjustable dumbbells I recommend the power blocks.
Because they are durable. Many of the other adjustable dumbbells break easily.
They are also easy to store and simple to use.
When it comes to building muscle you will need to get dumbbells.
Adjustable dumbbells (up to 50 lbs) — They are easy to use and simple to store.
Kettle bells (up to 45 lbs) — The best and cheapest combination would be getting 25 lbs for upper body and one 35-45 lb kettle bell for lower body
TRX — this will only get you so much
Note: It’s ok if this sounds like a lot of weight for you right now, but I promise you with the right plan, you will be able to lift this weight easily.
If you don’t know which to get, choose the one that best fits your budget to start.
You don’t need everything in this list, but I like to keep it simple.
All of them will help build some strength and muscle, but some are better than others for maximal strength and growth.
If your goal is to build muscle and strength, get Adjustable Dumbbells ($199-300)
If your goal is to build strength and tone muscle, get the TRX ($130-150)
If your goal is to build back functional strength, get a sandbag ($50-100)
If your goal is to build power and endurance, get an Iron Kettle Bell ($20-45).
Special Equipement to add — Joint pain, Neuropathy, and/or lymphedema.
Neuropathy in your feet:
Non-slip, polyester socks ($10)— wick moistening socks helps reduce risk of blisters, infections, and falls because it reduces dampness in your feet while you exercise.
Balance pad ($26)— balancing exercises help reduce neuropathy and fall risk. The pad helps challenge your balance more than just the floor would, making your balance better.
Slate Board ($30) — this helps stretch the muscles in the feet and is also great for reducing ankle and foot pain.
Nordic poles ($120)— if you have severe neuropathy in your feet that challenges your balance or you have neuropathy that goes up to your ankles, and you miss walking outside, the Nordic poles are a must-have!

Neuropathy in your hands
Grip Trainer ($15)— as you get older, your grip starts to go out, and with neuropathy in your hands, it can make it harder to open a jar, hold a door, or open a car door; therefore, training your grip helps improve your quality of life.
Gloves ($13)— weight-lifting gloves help grip dumbbells better to reduce risk of dropping it, and also help reduce calluses on the palms.
Resistance Bands ($30)— this is a great add for when you travel, and it forces your grip strength to work more.
Weak core, hips, and/or legs
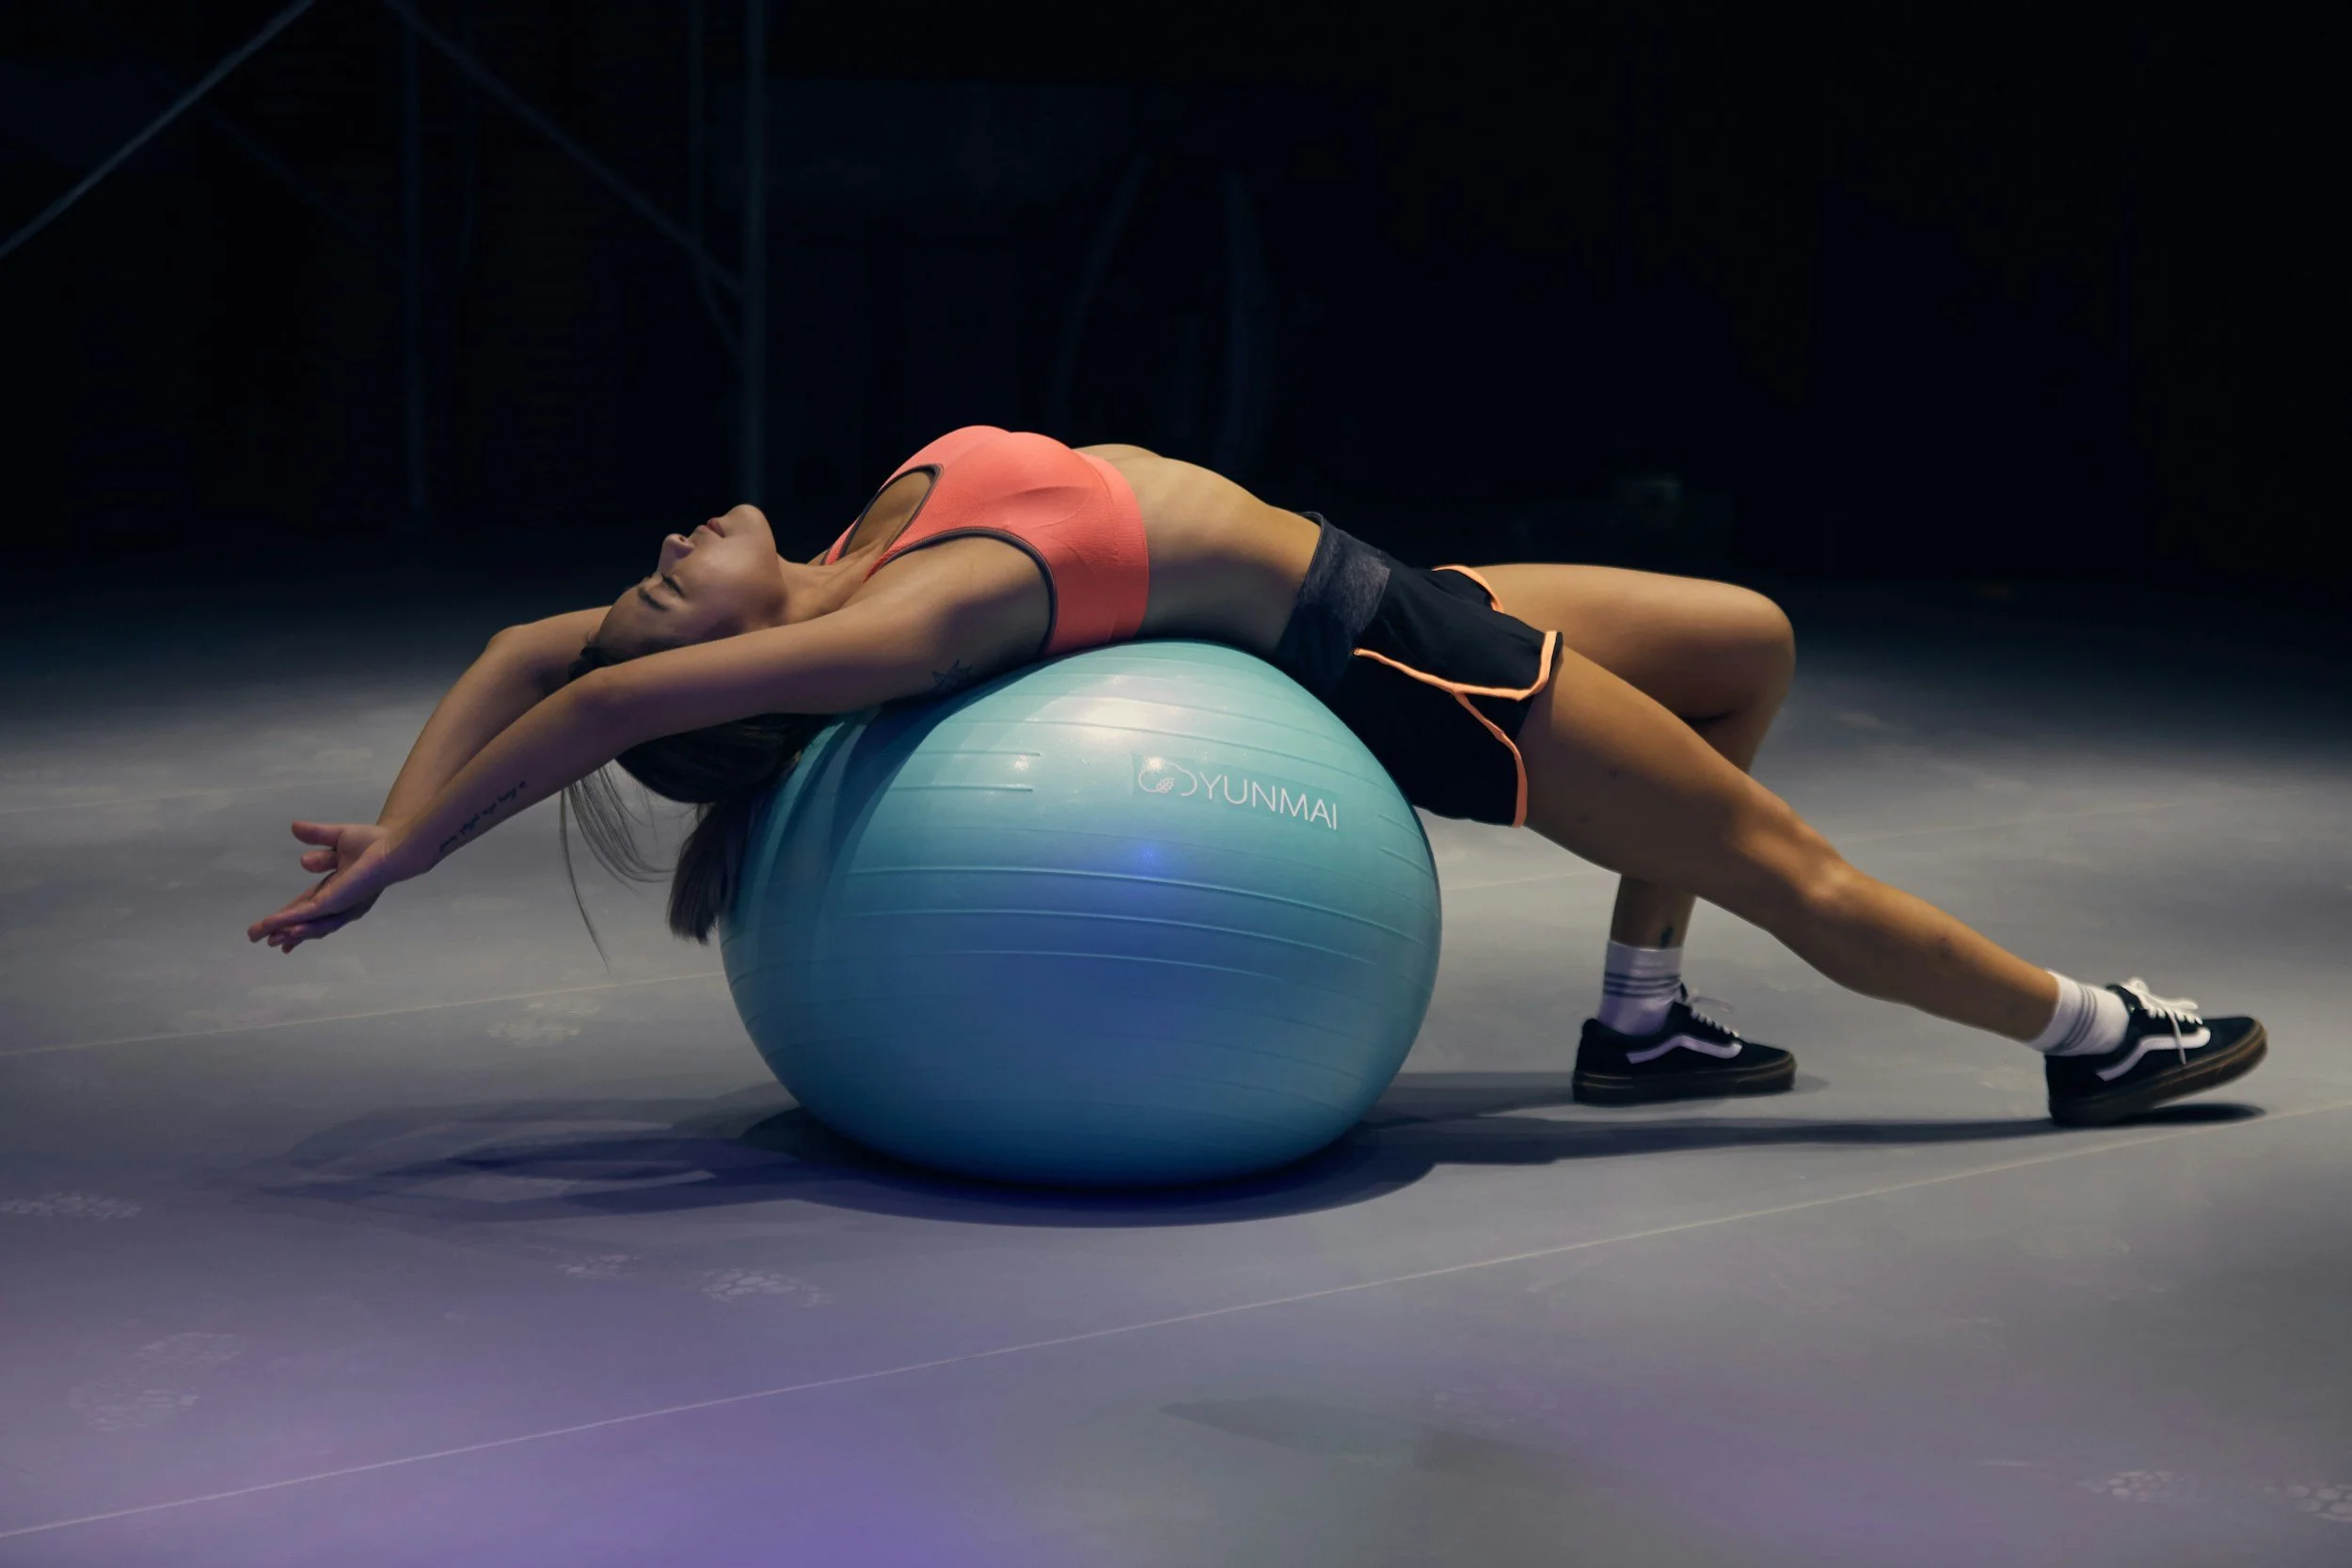
Anti-Slip Stability Ball ($20) — core, balance, and leg strengthening. It is phenomenal for a home office chair as well.
Monkey Foot ($30)— Leg and hip strengthening
Joint Pain & Stiffness
Yoga straps — If you have trouble bending or touching your toes — add the straps (this should come with your mat, but if it doesn’t, you can use a belt)
Yoga blocks — using blocks is a great way to stretch and increase your range of motion
Foam roller — foam rolling helps stretch the chest after breast cancer and improve range of motion on the shoulder.
Knee Pad — If you have joint pain or neuropathy, add the knee pad (you can also use a couchin for support)
Towel — If you have back pain
Note: You can buy them separately, or you can get all you need in just one set for a cheaper price (use the link for the best-priced set Yoga — Mat, block, straps, towel, and knee pad set.
Weak bones, Osteoporosis & Osteopenia
Weighted Vest — Weighted vest while you walk is a great way to add impact to your bones when you walk and improve your bone strength
Soft Box or step up — I recommend a soft, solid box for safety. The ones that are like a stool can be painful if you accidentally miss your jump or step. Jumping is great for building bone strength.
Lymphedema
Compression Sleeve — compression sleeves help reduce fluid from returning to the arm or leg after exercise. If you’ve had 5 or more lymph nodes removed, it is recommended you wear a medical-grade sleeve.
For more information on weight lifting after lymph node removal click here
Final tips
I recommend getting a bright color set because bright colors are harder to miss and will help remind you to use it more often.
Focus on strength-building equipment before trying to build muscle
Follow my OncoloFit Exercise Data Library to know how to use the equipment
Starting with 3 pieces of equipment
Yoga mat set($40)
TRX ($160)
15-25 lb Kettle Bell ($30)
With these 3 pieces of equipment, you will have all you need to exercise safely, comfortably, and effectively.
And lastly, I recommend getting my free workout plan.
It comes with 101 FREE workouts to help you build muscle and strength, regardless of what you buy for your home gym.
It shows you how many reps, sets, and minutes of rest you need during each workout so that you don’t have to think about what exercises to do.


Hey!
Welcome, I'm your trainer JC 🤓
Thanks for stopping by the blog!
You'll find lots of resources on health, fat loss, nutrition, exercise, and cancer prevention.
P.s. don’t forget to grab your free gift below.
Enjoy
